As promised. Its ready!

First very quickly why I like it:
Instructions to log in your OTRS trouble ticket system:

NOTE: IP address is via DHCP/ Bridged networking. Meaning, this virtual machine will go out and look for a DHCP server and try to attain an IP address. If your host computer does not belong to an existing network then please do the following while logged in as user "root" to assign a static IP address to your computer:
OR
$ sudo nano /etc/network/interfaces (Debian)
iface eth0 inet static
address 192.168.1.100
netmask 255.255.255.0
network 192.168.1.0
broadcast 192.168.1.255
gateway 192.168.1.254
OR
$ sudo /etc/init.d/networking restart (Debian)
Note2: Please do not feel shy to ask some computer nerd around you if you don't know how to fix the above mentioned IP issue ;-)
Enjoy your Virtual Appliance!
Tarry

First very quickly why I like it:
- Its Free!
- Its used by several organizations I know myself
- I personally think (and have experience with at least two major vendors) several (Trouble ticket/Incident Mgmt Systems) proprietary counterparts don't really do an excellent job and you pay through your nose!
Instructions to log in your OTRS trouble ticket system:
- Unzip the tar.gz file (NOTE: When you unzip the file, please look for a small 1KB file called fc4 and rename it to FC4.vmx, I don't know why that happens but I will RAR the appliance again and upload it)
- Discover this in your VMware Server, VMplayer or Workstation
- Start the machine and find the IP address of your machine by doing " ifconfig eth0". For computers who don't belong to an existing home or professional network please see the note* below.
- Go to your web browser and type this url http://youripaddress/otrs/index.pl, where myipaddress is your OTRS Virtual Appliances IP address.
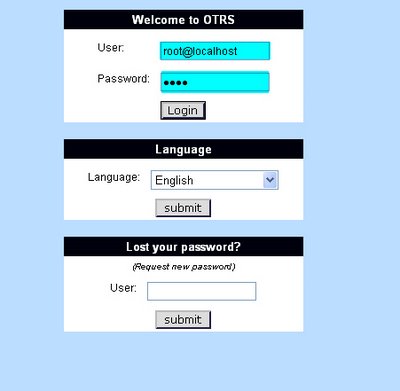
- Login for the first time to the interface by typing username = root@localhost and password = root. See print screen below and there you are! Do please check the OTRS online manual as well!

NOTE: IP address is via DHCP/ Bridged networking. Meaning, this virtual machine will go out and look for a DHCP server and try to attain an IP address. If your host computer does not belong to an existing network then please do the following while logged in as user "root" to assign a static IP address to your computer:
- Open network configuration file
OR
$ sudo nano /etc/network/interfaces (Debian)
- Find and if necessary remove dhcp entry :
- Append new network settings:
iface eth0 inet static
address 192.168.1.100
netmask 255.255.255.0
network 192.168.1.0
broadcast 192.168.1.255
gateway 192.168.1.254
- Save and close the file. Restart the network:
OR
$ sudo /etc/init.d/networking restart (Debian)
Note2: Please do not feel shy to ask some computer nerd around you if you don't know how to fix the above mentioned IP issue ;-)
Enjoy your Virtual Appliance!
Tarry
Comments
Post a Comment